

Pythonanywhere allows you to host your python web apps at low costs. It provides beginner features which allow you to test run your web application on a live server. This article will point out how you can host your Django application on pythonanywhere for free.
Pre-requisites
To be able to fully understand this article, you are expected to;
Have a basic understanding of how to create and run a Django project.
Have an understanding of python and the virtual environment
Have a suitable code editor such as VS Code.
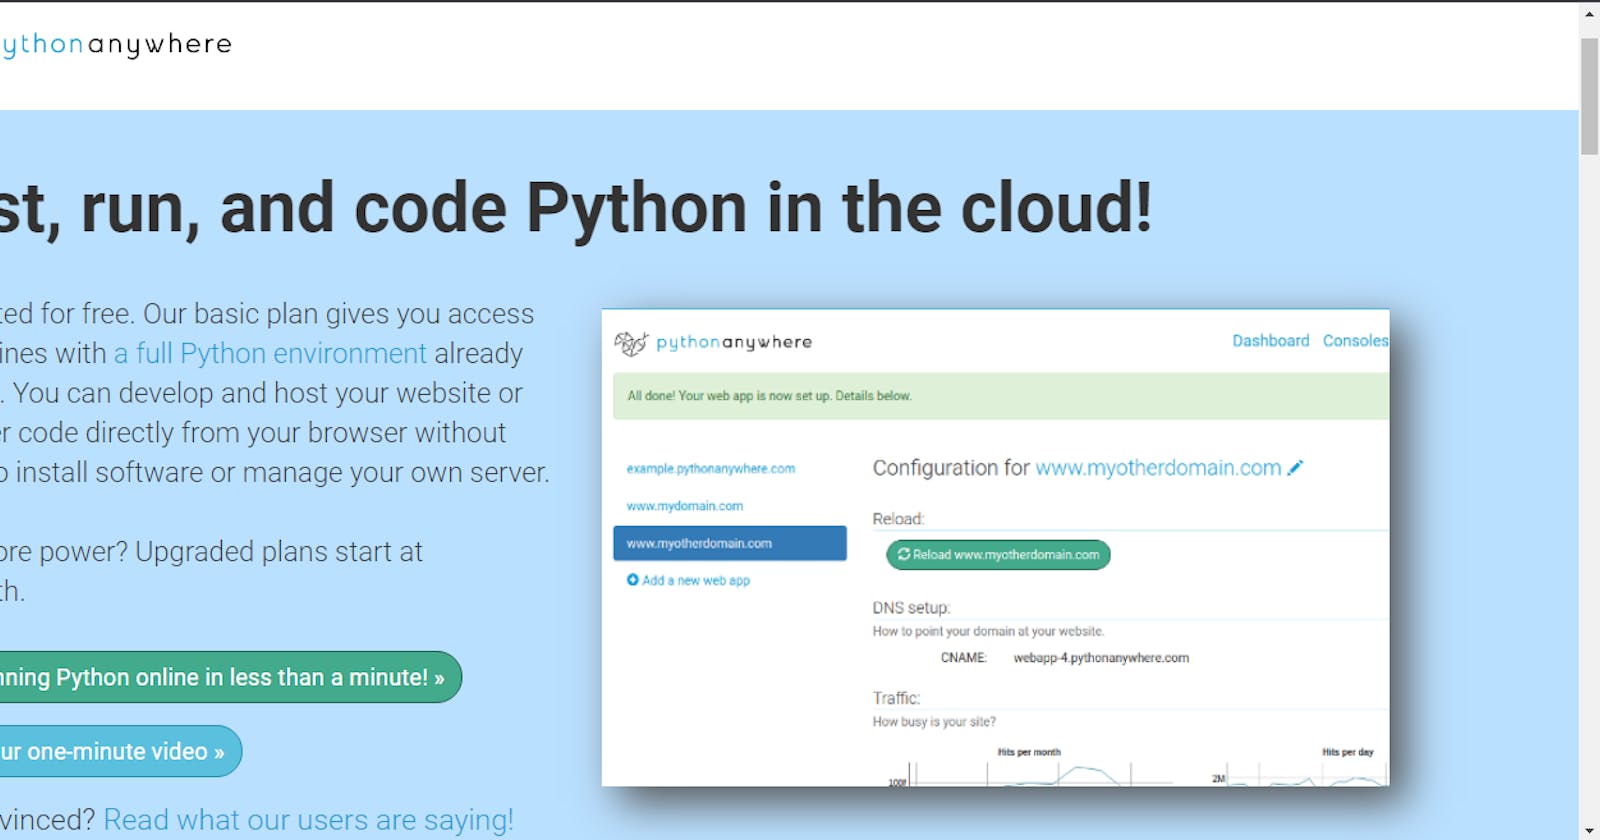
What is Pythonanywhere?
Pythonanywhere is a hosting platform. It has a built-in code editor and consoles that allows easy build and deployment of web applications. i.e you can decide to write all your codes on python anywhere without the need to open the code editor on your device.
Pythonanywhere has several hosting plans, amongst these plans is the free and beginners plan. The beginner's plan allows you to host your web application free for three (3) months. Interestingly, you can keep the free websites up for more than three (3) months as long as you renew the web app for free every three(3) months.
Lets get started with the steps to host your Django web application on pythonanywhere for free
Step 1: Create a beginner's account at pythonanywhere
Go to Pythonanywhere
Now Proceed to create a new beginner's account, this comes at a free cost.
After this, you should have a dashboard like this

Step 2: Upload your Django files
You will need to upload your file, one of the fast ways is to clone your git repo. On the right corner of the screen, click on consoles. Kindly note that you can run just two consoles at once from your beginner's account.
On the console page, click on the bash option. You should have a screen like this now
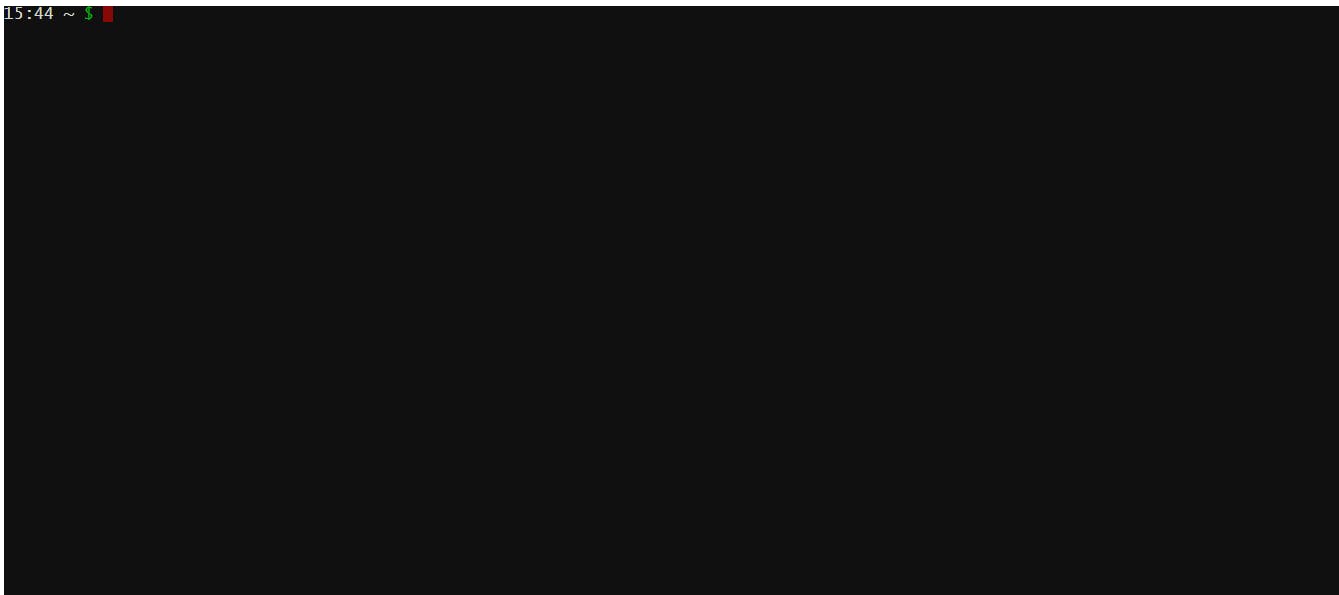
Proceed to clone your git repo by running git clone 'repo_url'.
Now, install your virtualenv by running
mkvirtualenv --python=python3.8 mypython. Your virtualenv will be activated immediately.
if your application has any requirements then you can install them as you would have done on your local server.
pip install -r requirements.txt
After you have installed the requirements necessary, then the next thing is to navigate into your Django app and set the template parameters.
Step 3: Setup your templates
Navigate to your pythonanywhere dashboard, go to files and click on your Django application file, in settings.py you need to import os at the beginning of the file. After importing os then proceed to adjust your templates parameter:
TEMPLATES = [
    {
        'BACKEND': 'django.template.backends.django.DjangoTemplates',
        'DIRS': [os.path.join(BASE_DIR, 'templates')],
        'APP_DIRS': True,
        'OPTIONS': {
            'context_processors': [
                'django.template.context_processors.debug',
                'django.template.context_processors.request',
                'django.contrib.auth.context_processors.auth',
                'django.contrib.messages.context_processors.messages',
            ],
        },
    },
]
after this step, save your file by ctrl + S.
Step 4: Create your web application on pythonanywhere
The next step is to create your web application, to do this click on the web link in your pythonanywhere dashboard. A page like the below should be displayed
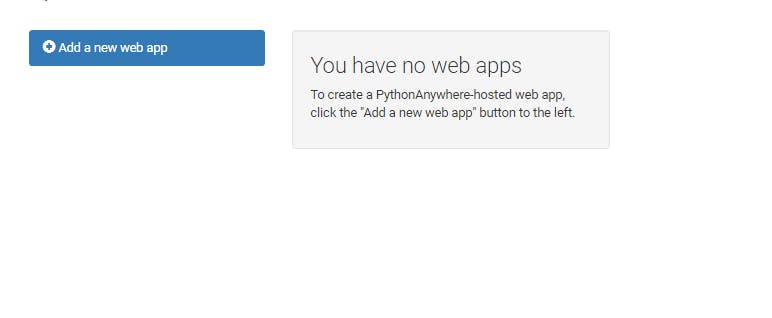
Click on Add a new web app. Proceed by clicking on next, since the target is to host for free, then select manual configuration and select the python version you used to build your Django app. Click on next afterwards and your web app will be created. A beginner URL that looks like yourusername.pythonanywhere.com will be generated.
Step 5: Set up your WSGI
The next step is to set up the WSGI on pythonanywhere and we do this on the "web" dashboard page. From the dashboard, click on the web. On the web dashboard page, scroll down till you find the WSGI file which will look like the image below
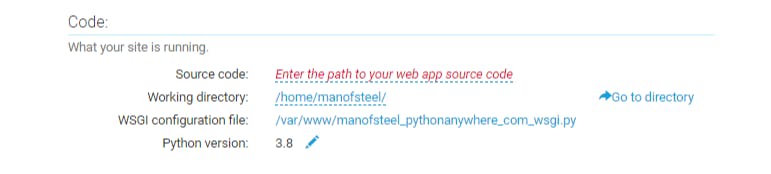
the WSGI file starts with /var/www/. Click on that file, and a page like this should be displayed

Scroll down the WSGI file till you find Django settings as shown below
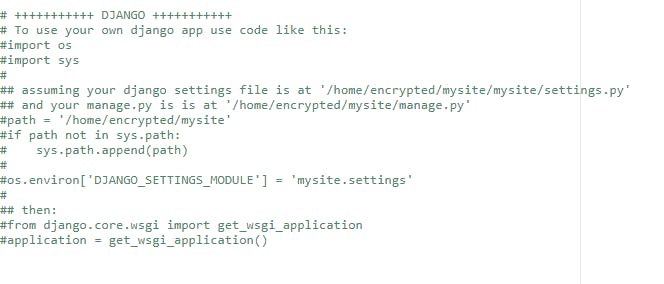
it will be best to highlight and delete every other thing on this page apart from our Django settings that we need. To make it work uncomment all the python codes by removing the "#" behind them.
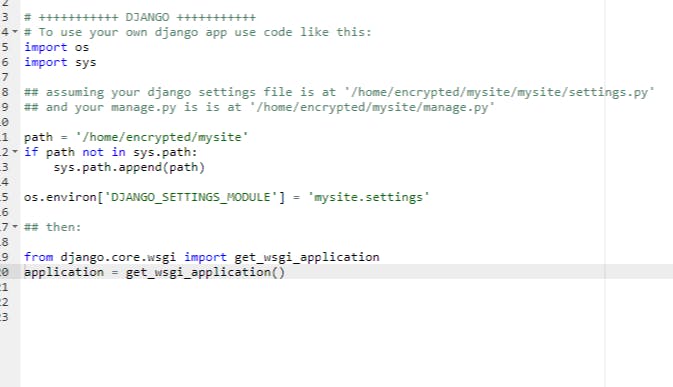
Now, set the path to the Django main folder carrying your settings.py file,
then allow pythonanywhere to locate your settings.py file by specifying its directory in your Django project folder os.environ['DJANGO_SETTINGS_MODULE'] = 'main_folder_name.settings'
Step 6: Set up hosts parameters
The last process is to set your ALLOWED_HOSTS in your settings.py file to the website url pythonanywhere assigned to you.
ALLOWED_HOSTS:['yourusername.pythonanywhere.com']
Conclusion
After this is saved and you reload your pythonanywhere app, input the url on your web dashboard into your browser. Your website should be live.
However, when you want to enable the Django app for production, DEBUG = False and then a little configuration will be needed for your static file. This shall be addressed in the next article.
Thank you.